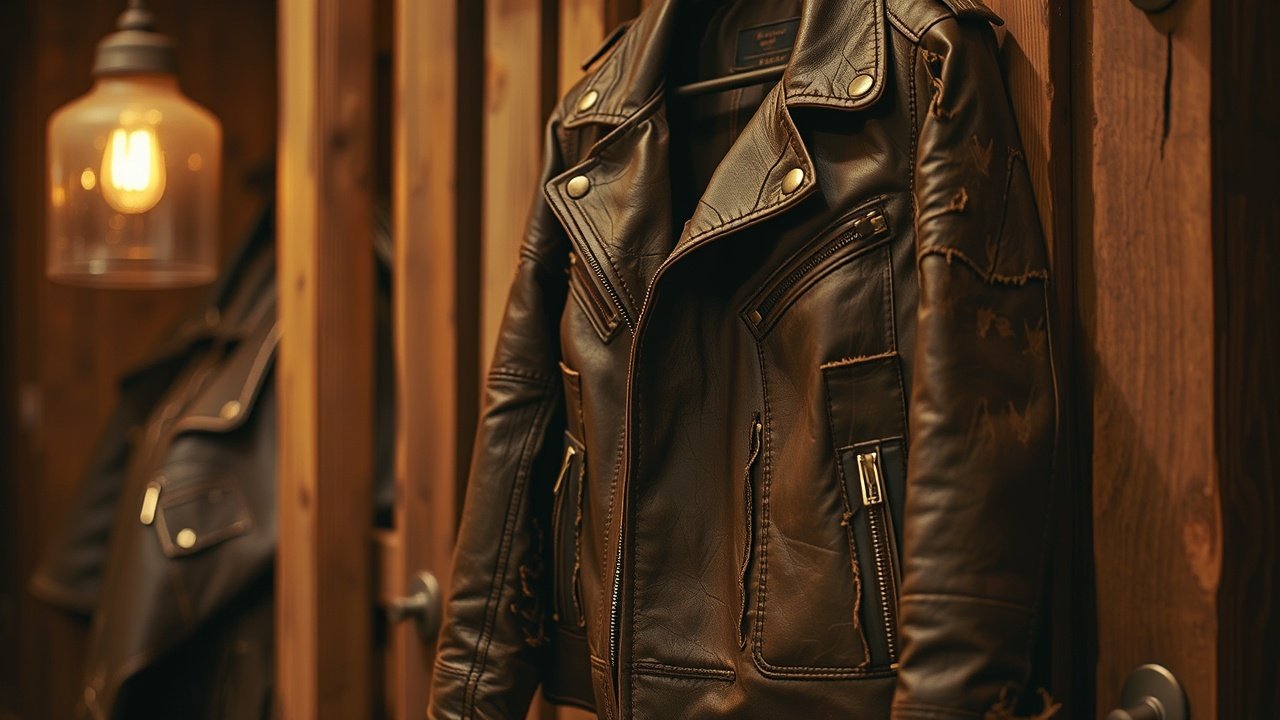
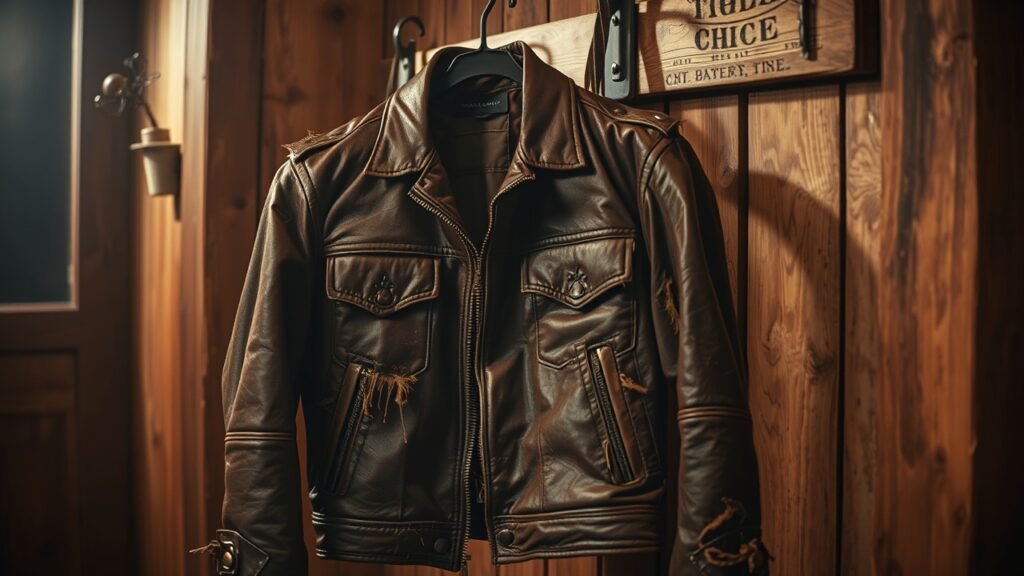
A ripped leather jacket can feel like the end of the world, especially if it is your go-to piece for making a strong fashion statement. Do not panic, your jacket’s journey is not over! With the correct equipment and a little know-how, you can repair a minor scratch or a major tear on your own. This blog will look at simple DIY methods for restoring your leather jacket when to hire a professional, and how to prevent future damage. You will know how to bring your jacket back to life by the end.
Understanding Damage to a Ripped Leather Jacket
Before you grab a repair kit, you should know what kind of damage you have.
Types of Rips
Surface Scratches: Light marks that do not penetrate the leather.
Small Punctures: These are tiny holes made by sharp things.
Full-Thickness Tears: These are large rips that disclose the inner layers or lining.
Why You Should Act Fast
Ignoring a rip can lead to:
-The tear keeps growing and becoming harder to patch.
-Moisture can damage the leather over time.
-Damage that is permanent and decreases the attractiveness of your jacket.
The best repair for your ripped leather jacket depends on understanding the kind of damage.
DIY Repair Tools You’ll Need
Tackling a repair at home? The right tools make the process smoother, more effective, and less frustrating. Here’s what you’ll need:
Leather Repair Kit:
These kits are found online and are easily available in local stores and contain all the essentials such as leather filler, patches and adhesives. When choosing a kit pick one that has clear instructions and is of high quality, this will ensure that your damaged area is repaired to look professional.
Strong Leather Adhesive or Glue:
Pick a leather-friendly flexible adhesive. Without cracking or hardening over time, it’s necessary to hold torn pieces together. Make sure you look to find options that dry clear so everything finishes smoothly.
Fabric Patches:
These rips or tears are reinforced by these patches. However, these go underneath the leather to stabilize the repair and prevent further damage. For the best results, make sure you choose patches made from firm and non-stretch fabrics.
Scissors:
You’ll need a good pair of sharp scissors for trimming frayed edges around the rip and for cutting fabric patches to the exact size. Precision is critical because repair has to fit perfectly and look natural.
Fine-Grain Sandpaper:
The benefit is that it will help smooth out the repaired area once the adhesive or filler has dried. Don’t hurt the surface of leather using this. Additional prepping of the leather before applying dye or conditioner is handy using sandpaper.
Leather Dye:
You’ll need color-matching leather dye to go and blend the repaired area in with the rest of the jacket. Try out the dye on a small, out-of-sight spot first to make sure it will be perfect and not alter its texture.
Cotton Swabs or Applicators:
They can be used to apply adhesive, filler, and dye, with more precision. That helps you work on small areas without leaving a mess behind and making the repair look nice and professional.
Pro Tip
Having a high-quality leather repair kit can save you time and effort. A premium kit will often include quality materials and detailed instructions to make it easier to create a near-invisible repair for the untrained eye.
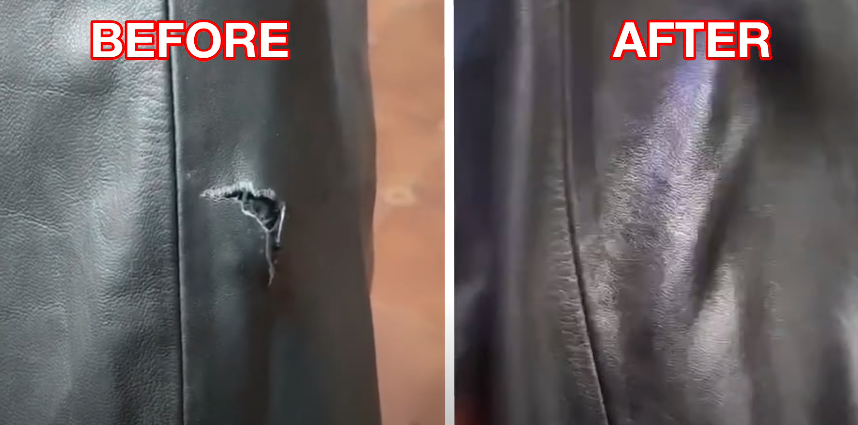
Step-by-Step Guide to Fix a Ripped Leather Jacket
Fixing Small Scratches or Rips
Clean the Area: Clean dirt and oils with a mild leather cleaner.
Apply Leather Adhesive: Spread glue over the scratch (or small rip) gently.
Let It Dry: Let the glue dry for a few hours.
Smooth the Surface: Even out the texture by sanding very lightly with fine–grain sandpaper.
Dye and Condition: Color-matching dye and finishing with a leather conditioner will blend the repair.
Repairing Medium-Sized Tears
Trim Loose Edges: Frayed threads or uneven edges should be cut away from the rip.
Patch It Up: Put a fabric patch of support underneath the tear.
Glue the Rip: Apply leather adhesive on the edges of the tear, and then forcibly press the two edges together.
Finish the Look: Fill any gaps with leather filler, sand for smoothness, and dye to match.
Handling Large Tears
Reinforce with Fabric: Lay a strong backing fabric under the tear.
Layer Adhesive: Glue with multiple coats.
Apply Leather Filler: For an even surface, fill in gaps with a repair compound.
Blend with Dye: Finally, you should dye and condition the area to return the jacket to its original condition.
DIY repairs are a very cost-effective way to get your ripped leather jacket back to looking new, it all just takes a little patience!
When to Seek Professional Help
Sometimes your best efforts aren’t going to be enough by using any DIY method—not when dealing with serious or complex damage. Here’s when it’s a good idea to hand your ripped leather jacket over to a professional:
The Tear Is Too Big or Affects Structural Seams:
Large rips or tears that rip through your jacket’s critical seams can make your jacket less comfortable, less well fitting and even less durable. But since professionals have the proper tools and techniques to repair such damage while still keeping the structure and life of the jacket, so don’t worry!
The Jacket Has Unique Stitching or Embossing:
Stitch patterns or embossed designs can make repairs very difficult. In such cases, you probably shouldn’t try DIY to fix it since they might change the look of the original. These professionals can access and restore without ruining that which holds your jacket very special.
You’re Unsure About Color-Matching the Dye:
Matching the color can be a tricky process, as some of our jackets have unique shades or patina. A mismatch can make the repair glaringly obvious. The repaired area blends perfectly with the rest of the jacket, being fixed using precise color-matching tools, so professionals use these tools.
If you are willing to pay, professional services are much more expensive but do come with a guarantee of quality and expertise. If your ripped leather jacket holds a lot of sentimental value or high value, the cost of professional care is well worth the expense.
Prevent Future Rips in Your Leather Jacket
As they say, an ounce of prevention is worth a pound of cure, but when it comes to preventing your ripped leather jacket from becoming a recurring problem, it’s true. Follow these simple yet effective tips to ensure your jacket stays in top-notch condition:
Condition Regularly:
To maintain the feel of the material and its flexibility, use a high-quality leather conditioner every few months. Conditioning prevents the leather from drying out or cracking, which can make it more prone to tearing. Spread the conditioner evenly, focusing more on the parts that move most often (elbows and shoulders).
Store Properly:
To prevent stretching the leather, always hang your jacket on a wide, padded hanger. Store it in a cool, dry place away from direct sunlight. If you plan on keeping the jacket long term, keep it in a breathable garment bag to prevent dust and moisture while preventing humidity from becoming trapped.
Avoid Sharp Objects:
When you wear or store your jacket, be aware of sharp items like zippers, keys or even jewelry. Remember to make it a habit to check your surroundings and your pockets so that you don’t do some sort of accidental damage.
A couple of things we can do to prevent another ripped leather jacket disaster is to be a little patient and give our jackets a little more care and attention. Now you can protect your jacket, ensuring that it’s going to remain a fashionable, yet long-lasting piece of your wardrobe for years to come.
Common Mistakes to Avoid While Fixing a Ripped Leather Jacket
Using Super Glue: It stiffens up and only damages the leather further.
Skipping the Patch Step: Skipping reinforcement results in weak repairs for medium and large rips.
Overfilling with Filler: This creates a rough texture that’s hard to blend.
If you can’t steer clear of these mistakes, you may end up repairing your ripped leather jacket all over again which will cost you time.
Frequently Asked Questions
Q: Can I use the regular glue to fix a ripped leather jacket?
A: Regular glue isn’t flexible and will crack over time, so don’t use it. Use something that is leather-specific adhesive.
Q: How long will a DIY repair last?
A: If well done, and with proper care it should last for years.
Q: For beginners, what’s the best leather repair kit?
A: Search for kits with pre-mixed filler, adhesive, and color-matching tools.
Conclusion
Look, don’t let a ripped leather jacket just hang in your closet! With some effort, however, you can bring it back to life – via simple DIY methods or contracting out to professionals. Acting fast and using the right tools is important to success. Then, when your jacket is in the saddle again, do what you can to protect it from further damage. After all, a leather jacket isn’t only fashion but a symbolic choice as well.